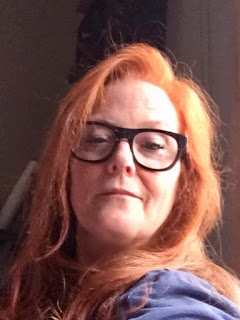
In class, I followed along under my instructor's direction and attempted my first digital painting. Here are the steps I took along this grayscale brick road.
STEP ONE: Find a good portrait to draw. One with nice, rich shadows and crisp highlights (this is where I needed to reconsider my choice LOL). Unlock the background image, make a copy, remove/fill the original with white and set it underneath the copy. Rename the background copy as “reference”
STEP TWO: MAKE sure your image is 1600 pixels wide or less. Make sure your image is 300 ppi. Bring your image into Make any image changes in Photoshop.
STEP THREE: SAVE your image now and several times during the digital painting process. If you’re using a colour image, then reduce the saturation to 0%.
STEP FOUR: LINE DRAWING on the new layer. Using a thing brush with a thin pencil-like stroke outline the image. Play with the brushes and settings to get the stroke you want. A textured brush gives a more realistic feel.
STEP FIVE: GROUND is the next layer to create. Using a large textured brush makes big swash waves across the artboard in an 18% gray shade. I used a large, dry brush.
STEP SIX: VALUES is the next layer to create. With a dark colour, but not full black (not natural) fill in the darker values as we learned when we studied Drew Struzan’s technique.
STEP SEVEN: HIGHLIGHTS is the next layer to create. With a light tone, but not pure white (not natural) bring out the highlights. Refer to the technique we learned through studying David Grove.
STEP EIGHT: REFLECT on your progress so far. Ask yourself the following questions using the elements and principles of art and design...
1. Is your composition complete?
2. What part of your composition did you find most successful and why?
3. What part of your composition did you find least successful and why?
4. What of this composition are you now going to change or improve on, and why?


Comments
Post a Comment